In some areas of the world, the weather is consistent enough that a motorcyclist can ride all year long. In other areas, inclement weather happens for a season (in the Mid-Atlantic region, that’s winter).
Disclosure: This post may contain affiliate links, meaning if you decide to make a purchase via my links, I may earn a commission at no additional cost to you.
Every motorcyclist should evaluate their own risk tolerance for riding in that kind of weather. Do you have the right equipment for yourself (such as layered protective clothing, leather jacket or rain jacket, etc.), the right equipment for your motorcycle (heated grips, spiked tires or at least tires with better grip on the ice or in the snow and rain, etc.), the right level of skills to work with icier roads, colder temperatures, etc.?
If you have evaluated your risk tolerance and determined you can ride all year long, I envy you. If you’re more like me and have determined that winter would be a good time to take a break from motorcycling, you still need to prepare your bike to rest for a bit.
We call that “winterizing”.
Where can I store my motorcycle in the winter?
Now, I have seen some posts on Instagram where people have brought their motorcycles into their homes. I would NOT be able to do that but I envy people who can.
I also know of friends who store their bikes for the winter at a dealership that offers winterizing services and heated indoor storage facilities. These services often include the same things I am doing with my bike (keep reading).
I am fortunate enough to have a garage, and while it isn’t separately heated, it is warmer than subjecting the motorcycle to the elements (especially from the cold, wet, ice pellets that were raining down this morning).
How do I prepare my motorcycle for storage?
To winterize, you’ll need to get a few things:
- Fuel stabilizer
- Battery Tender
- Cover
Fuel stabilizer
The first thing you’re going to want to do is add a stabilizer to your fuel tank. This is to ensure that the fuel sitting in the tank doesn’t oxidize while not in use and helps to absorb moisture. Check out this Sta-Bil fuel stabilizer I used.


A little goes a long way. Whichever brand you choose, make sure to read the directions. In my case, it was one ounce per gallon of fuel. I had just nearly filled up so I needed 2.5 ounces.
Once you add the stabilizer directly to the tank, run the engine for a few minutes to mix it all in.
Note: this was the hard part. I was sitting in my garage, with the motorcycle running, and wanting to take it for a spin, knowing that I couldn’t.
Battery Tender
The next thing you’ll need is a tender for your battery. Putting the battery on the tender will help trickle the charge and keep your battery at full charge during periods of inactivity.
This 12V battery charger by the company “Battery Tender” is the one I use.
On Jason’s bike, there was a spot to plug the tender right into the battery without any further issue. On my bike, I needed to remove the battery (but considering this is a newer model than Jenn’s, the battery had more things to detach and move out of the way than the one we just replaced on hers (read more about that here), so read your manuals to ensure you are doing it correctly).
Connect the battery to the tender and you are done!
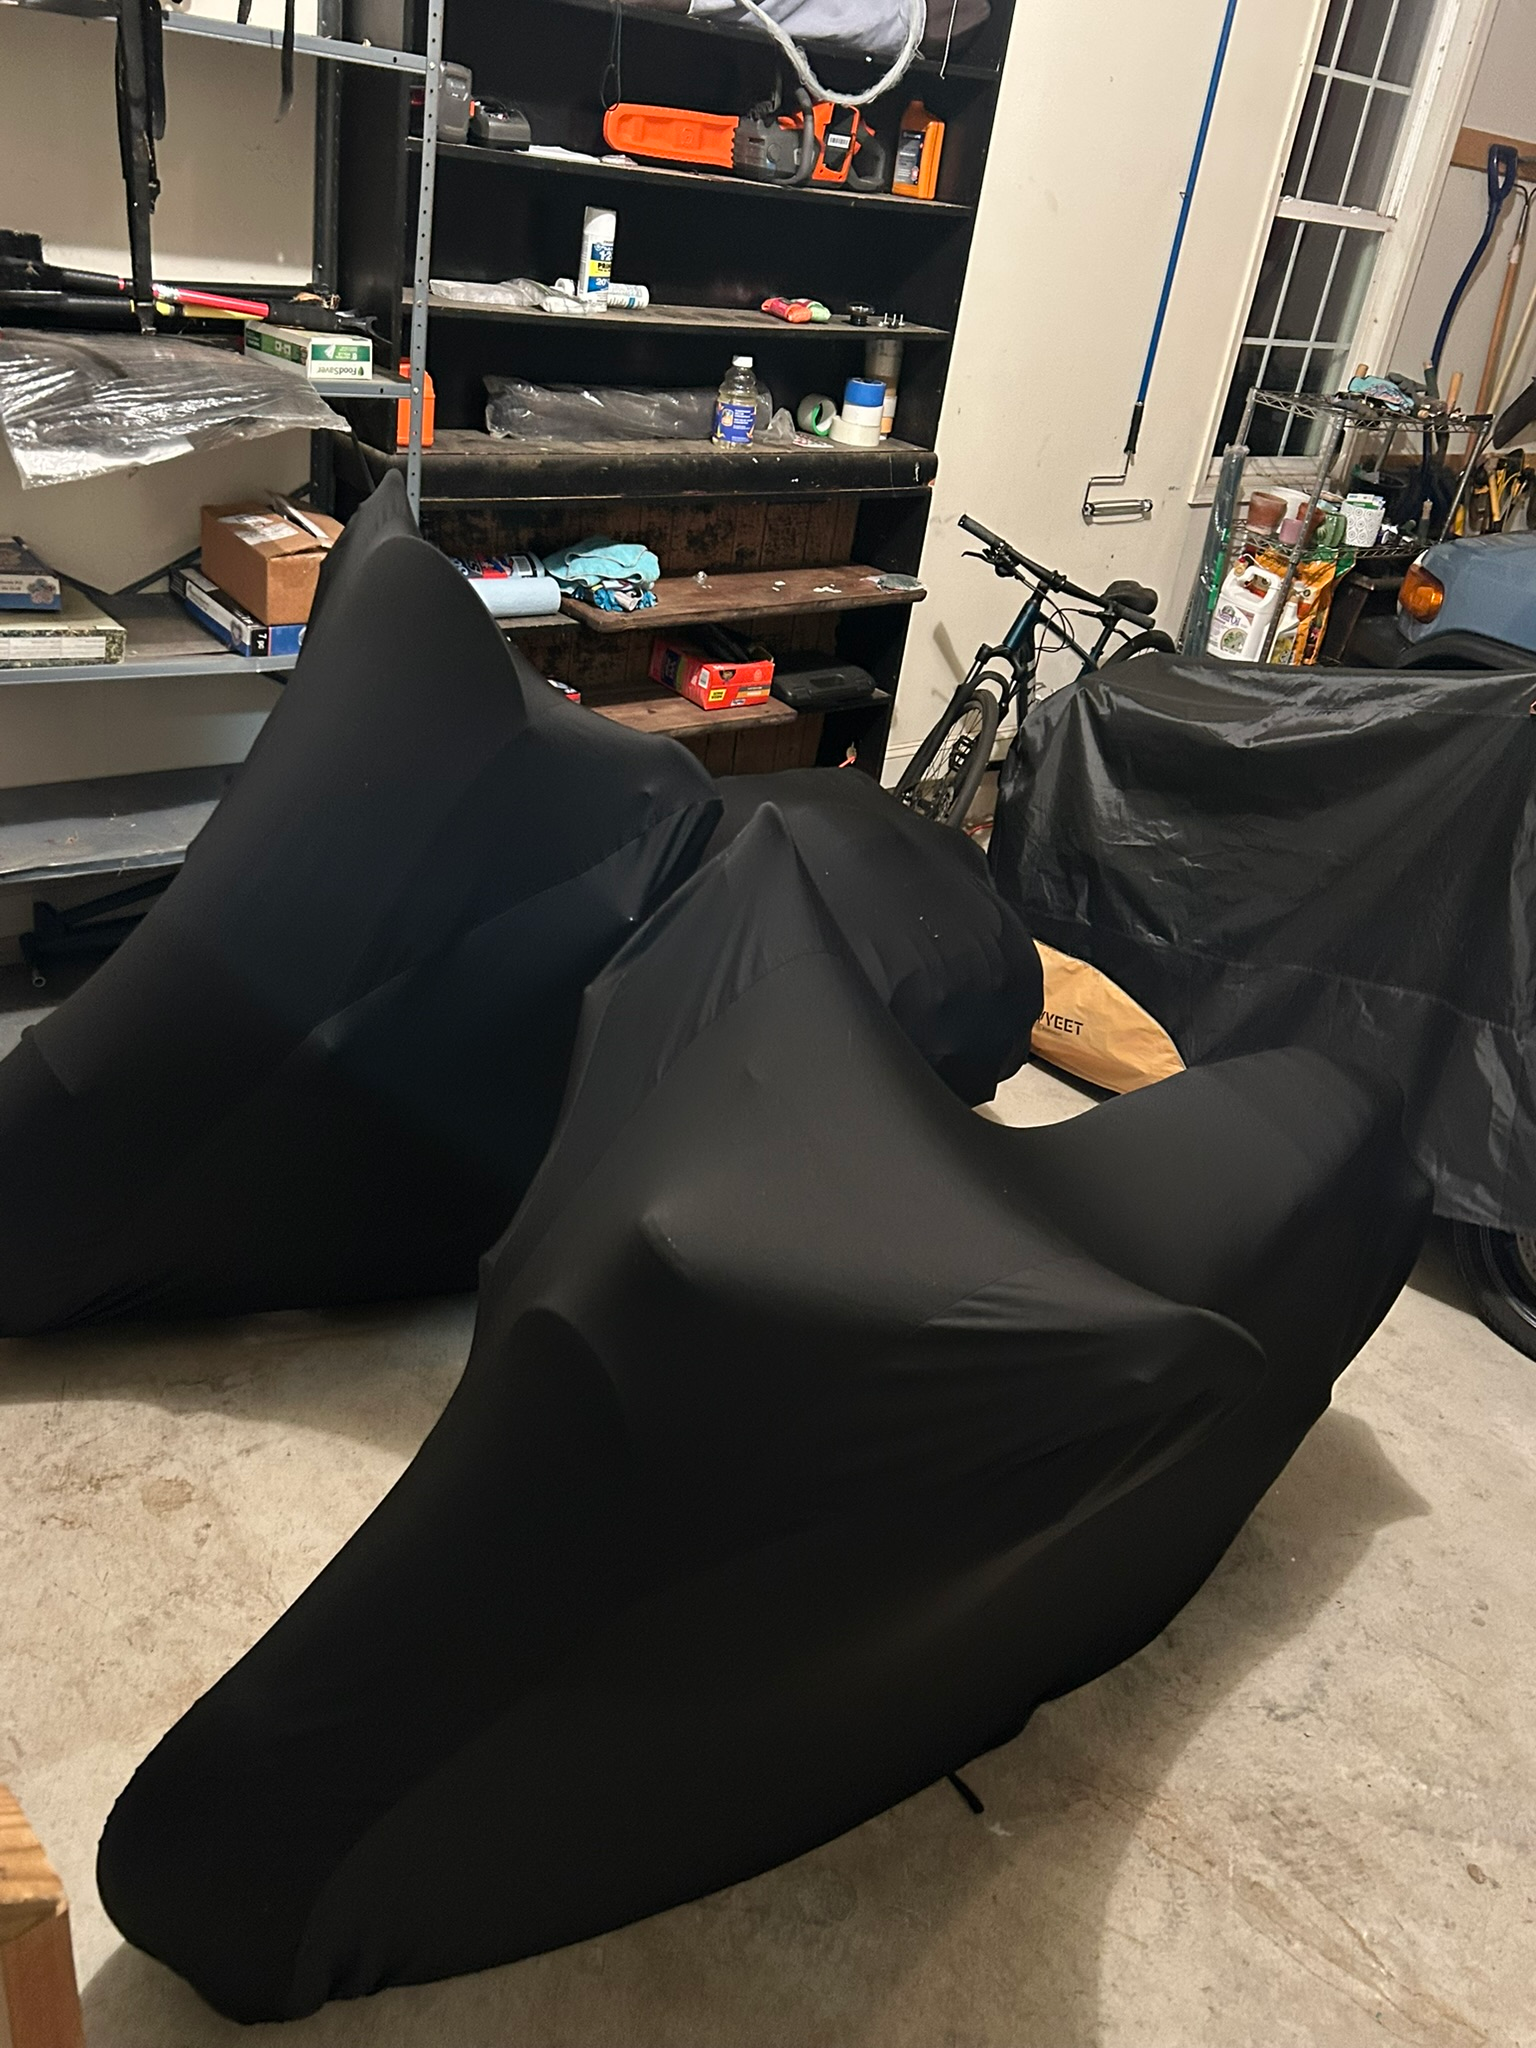
Cover
If you are in a garage, it is still a good idea to have at least a dust cover. This is the indoor cover I use. It comes in a few different sizes and its got elastic on the bottom for a closer fit, so make sure you get the right one.
And the bikes are snug as a bug in a rug… or however that saying goes.

That’s it! There are some upgraded things you can do like empty the fuel tank, …. But with a stabilizer, a battery tender, and a cover, you should be fine to start it right up in the early spring.
Let me know in the comments if you get to ride all year or if you are putting your motorcycle away.